
I will walk you through the delightful world of raised garden beds. A raised garden bed is essentially an elevated plot encased in a frame that houses your plant life. This isn’t just about tidying up your garden; it’s also about solving many horticultural hurdles. A raised bed can be a game-changer for those grappling with poor soil quality or limited space.
If you want to cultivate your green thumb but face constraints like the rocky ground or if bending and kneeling are troublesome, raised garden beds can offer a solution. This approach to gardening tailors the growing environment to your plant’s needs and your physical comfort.
In my opinion, the shift towards raised garden beds speaks volumes about modern gardening practices. These beds enable better weed and pest management, improved water retention, and even offer an extended growing season because of their ability to warm up earlier in the spring. The bottom line? They’re incredibly efficient!
But the DIY approach to raised garden beds offers more than a personalized touch. It’s a chance to steward the environment responsibly. By selecting sustainable and eco-friendly materials, you stand against waste and pollution. So, this is as much an act of love for the planet as it is for your plants.
Are you ready to design a raised garden bed that fits perfectly into your outdoor space and lifestyle? I’m here to help you with that. You’ll learn about the nitty-gritty of choosing suitable materials, factoring in sun exposure, drainage needs, and aesthetics, and how to create functional raised beds that reflect your style.
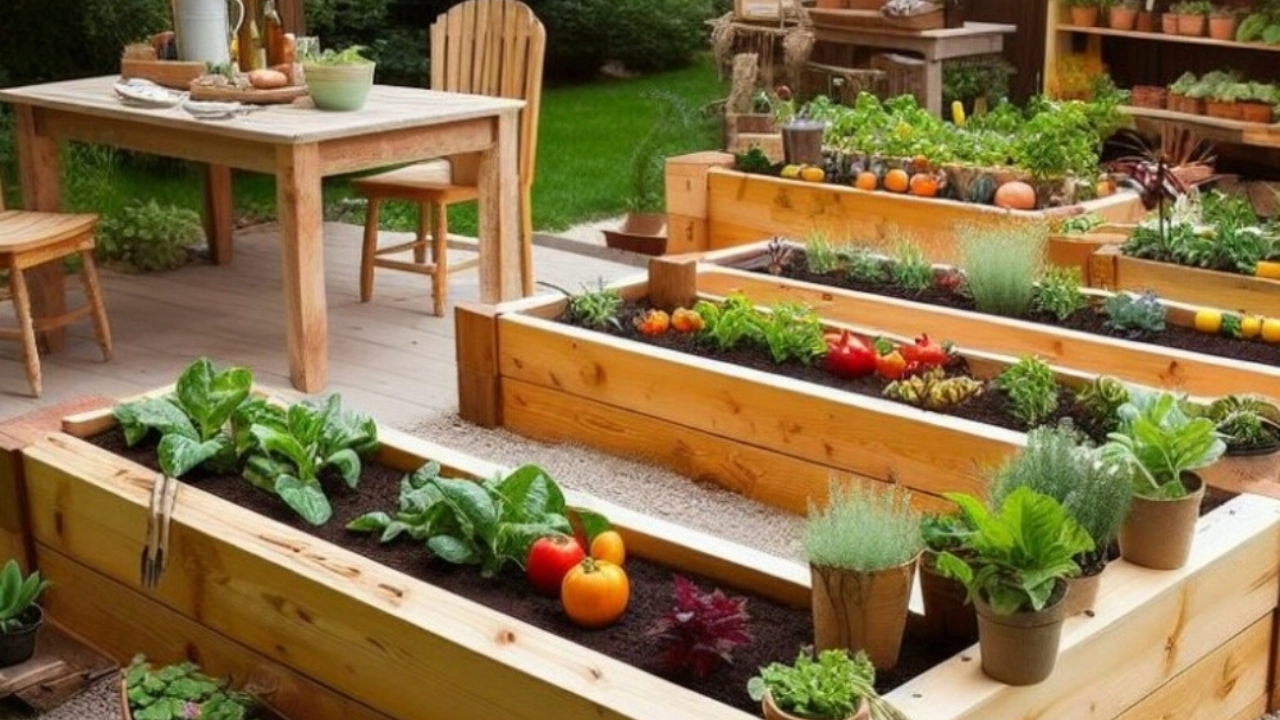
Designing Your Raised Garden Bed
You’ll learn how to craft a raised garden bed that’s not just a place for plants to thrive but also reflects your style and needs. Before you pick up a hammer or drill, it’s crucial to consider the design of your garden bed.
When considering your raised garden bed’s size and height, consider your available space and what you plan to grow. This isn’t just about fitting into your yard; it’s also about ensuring you can comfortably reach the center without stepping into the bed, which can compact the soil.
Choosing materials might be more significant than you think. You want to go for something that looks good, is durable, and is non-toxic. Woods like cedar or redwood are popular because they naturally resist rot, but you can also look into recycled materials like composite boards.
And if you’re wondering whether your raised bed can be a show-stopper, this is your chance to get creative. Paint the exterior, add decorative trim, or incorporate a trellis for climbing plants. Your bed can be as unique as your garden.
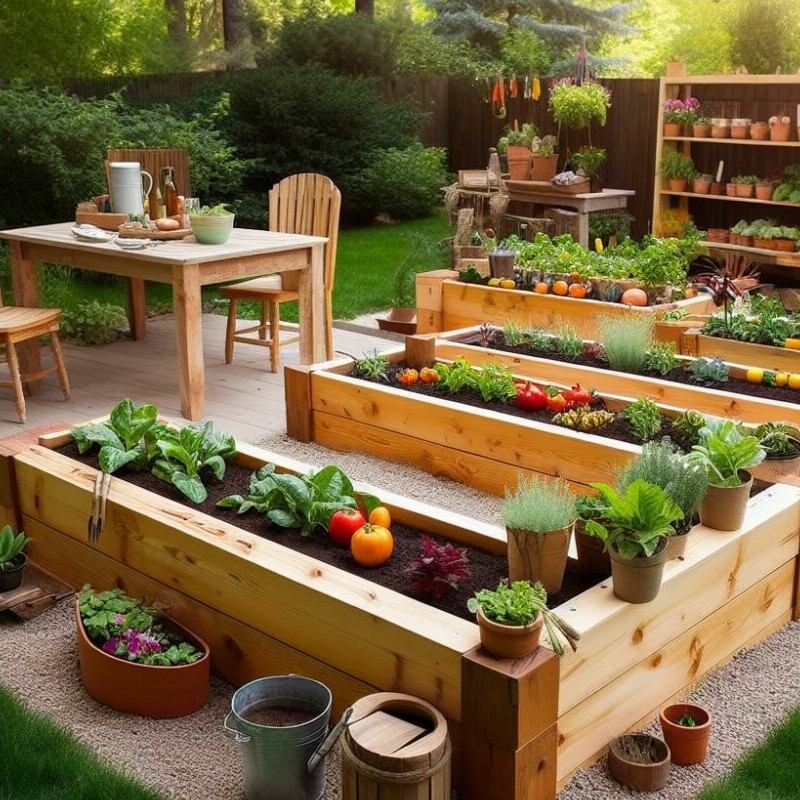
Step-by-Step Guide to Building a Raised Garden Bed
I’m going to guide you through the process of creating your own raised garden bed. This fantastic weekend project will beautify your garden and make growing vegetables, herbs, and flowers much more accessible.
You’ll need some essential tools and materials to get started: measuring tape, a saw, drill, screws, wood planks or your chosen material, and some barrier cloth to prevent weeds. If you don’t have a saw or drill, many hardware stores can cut wood to size, and inexpensive hand tools can be used instead.
Here’s a straightforward way to construct a simple wooden raised bed: Measure your space and decide on the dimensions of your garden bed. For beginners, I recommend starting with a 4×8 footbed, which provides plenty of space for plants and is easy to reach.
Cut your wood planks to size, two pieces at 4 feet and two at 8 feet. Then you’re going to stand these planks upright to form a rectangle, securing the corners with screws. If you opt for a higher bed, stack and secure additional layers of wood on top.
Next, you’ll place your assembled frame in the chosen spot. Before you add soil inside the frame, lay down your barrier cloth to suppress weeds. This isn’t just about placing the fabric; make sure it extends to the outer edges of the bed to prevent any unwelcome plants from sneaking in.
Fill your garden bed with a mix of topsoil and compost. This hearty blend will give your plants the nutrients they need to thrive. After the soil is in, it’s just a matter of planting and watering your seeds or seedlings.
You can constantly adjust your approach down the road. Maybe you’ll add a trellis for climbing plants or install an irrigation system. Remember, your first attempt doesn’t need to be your last. Garden beds are versatile and can evolve with your gardening skills.
Maintaining Your Raised Garden Bed for Seasons to Come
I will tell you how to keep your raised garden bed thriving over the years. It’s not just about building it; it’s also about ensuring it lasts and continues to provide a bountiful harvest.
First, let’s discuss preserving the wood. Treating the wood with a safe sealant helps it withstand the elements. Remember, untreated wood can rot quickly, especially in constant contact with moist soil.
You’ll learn about the seasonal gardening cycle—rotating crops, refreshing soil, and protecting your garden bed from pests and extreme weather are the keys to longevity.
Don’t worry too much about little mistakes along the way. Your raised bed can also experience wear and tear; sometimes, repairs are necessary. Replace any warped or rotting boards as needed to keep the structure solid.
Regarding updates or expansions, choose something that resonates with you. As your gardening skills grow, you might want to add more beds or try different designs—go for it!
In the gardening world, a lot is happening very quickly, and by staying connected with online forums or local gardening clubs, you can share your experiences and learn from others. It’s a great way to keep your garden and your knowledge flourishing.
I hope you take pride in your DIY raised garden bed and enjoy the fruits (and vegetables!) of your labor for many years. And remember, your first attempt doesn’t need to be your last—gardening is a continuous journey of learning and growing.
\ Get the latest news /